Knitting lifelines: Extra 2
Welcome to the second in an occasional series of short podcasts focussing on specific techniques or projects. This time: inserting knitting lifelines, a length of yarn that marks a point in your project that is safe to rip back to and holds the stitches so that you can put them back on your needle as live stitches and rescue your knitting.
Ft knitting patterns:
Ft knitting videos:
Knitting lifelines:
A lifeline is such a geniusly simple idea, particularly as you can either be a cautious duck and put them in as you go along, just in case you need to rip back, or you can insert them once you’ve spotted a mistake. The point of a lifeline is to prevent stitches unravelling, so that you can frog with abandon and know that not only will you not accidentally unravel stitches you wanted, but that when you’re all frogged out you can just slip the stitches back on the needle as live stitches and have another shot at the section you slipped up on.
I’ve deliberately set out not to be an instructional podcast because so many people already do that so well, but if you’re not familiar with a lifeline here’s the basic idea:
 Proactive lifeline
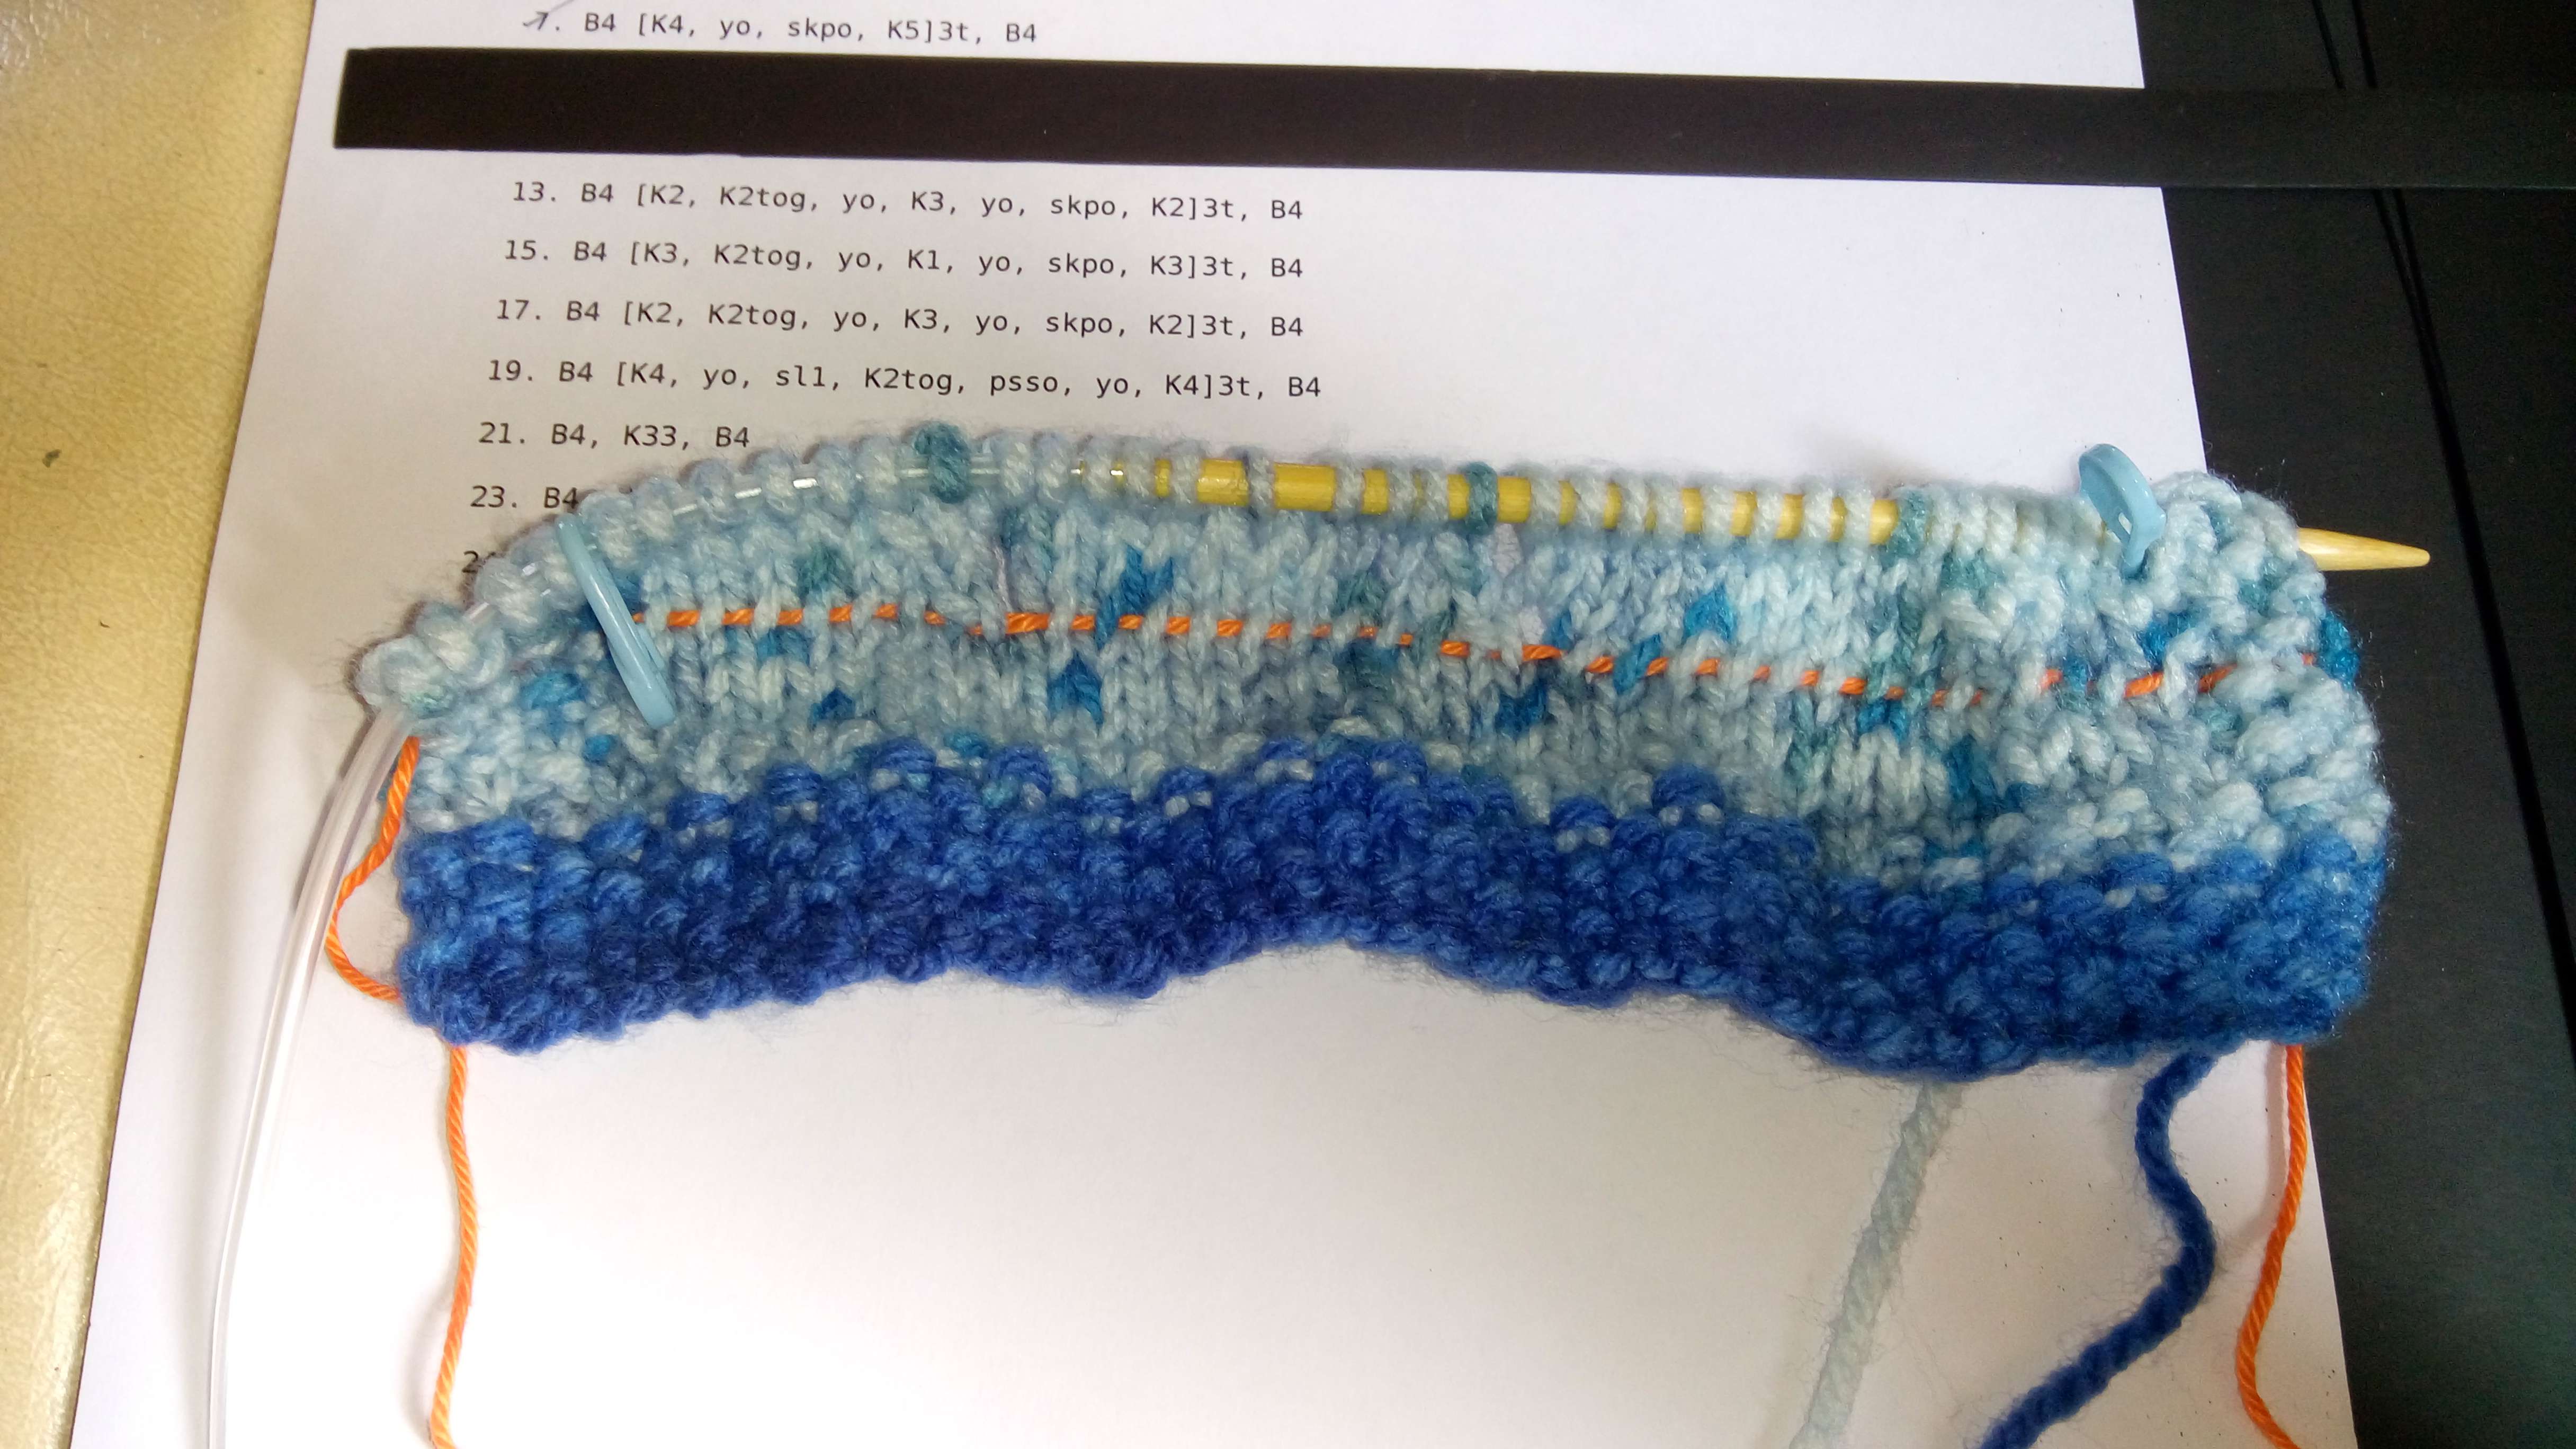
This is one you put in at a certain point – you know you’ve made no mistakes to that point and you want to preserve everything you’ve already done. You might insert it just before or just after a tricky bit. The image shows a proactive lifeline going in after a few succesful rows of pattern. This is the preferable form of lifeline as nothing complicated is required; all you have to do is thread yarn through the stitches on the needle. I do a few at a time, pull the yarn through, then do a few more, just to make sure I don’t nick the stitches as I go along.
You can see too a lifeline I had put in previously. I’d completed my six rows of seed stitch then a few rows of stocking stitch and wanted to preserve that in case I bodged the pattern.
Once the piece is finished, just pull out the lifeline (I know, I struggle with it slightly in the video but that’s just me being a bit crap).
Reactive lifeline
This is a lifeline that goes in once you’ve realised something’s gone wrong and you need to frog. We’ve all frogged back further than we intended, and if you have a cabled item or rib or anything more complicated than straight stocking stitch, it’s a nightmare trying to rip out then put the stitches back on the needle succesfully. Nowadays I’d put in a proactive lifeline every few rows of a cabled jumper, for instance.
A reactive lifeline goes in through the right leg of each knit stitch V. For rib, ignore the purls, flip the piece over and pick up the right leg of each knit V again with separate yarn. It’s tricky – the worst bit I find is keeping to the same row, as I tend to wobble up or down a row here and there. It’s good to know the reactive lifeline is there, but do yourself a favour and stick in a proactive one every so often and I would say without fail before any shaping sections.

