
Episode 17: Dyeing yarn
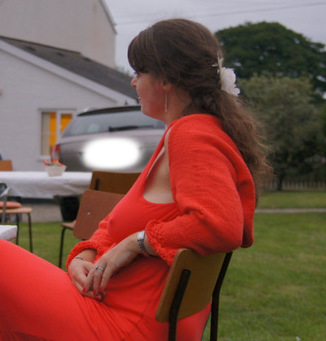
Welcome to The Ordinary Knitter, the knitting podcast that’s (mostly) about the projects. This week: village show entries, finally wearing the Evening Shrug, knitted knockers and dyeing yarn. I can confirm that the Berroco Lawrence sweater is a free Ravelry download – the link below goes to the pattern page on Ravelry. The featured image this week is of me looking like Lady Muck, wearing the shrug. I have another one taken fromn the front but I look like Jemma Snooty Cow (St Trinian’s, anyone?) so I daren’t share it.
Ft knitting patterns:
Ft knitting sites:
Ft knitting blogs:
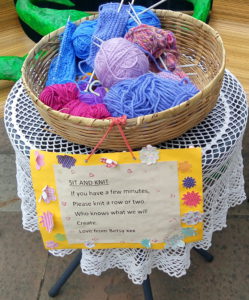
- Pea Soup – dyeing yarn
- Eskimimi makes – cardboard sock blockers
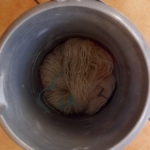
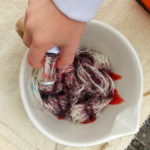
Dyeing yarn:
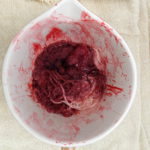
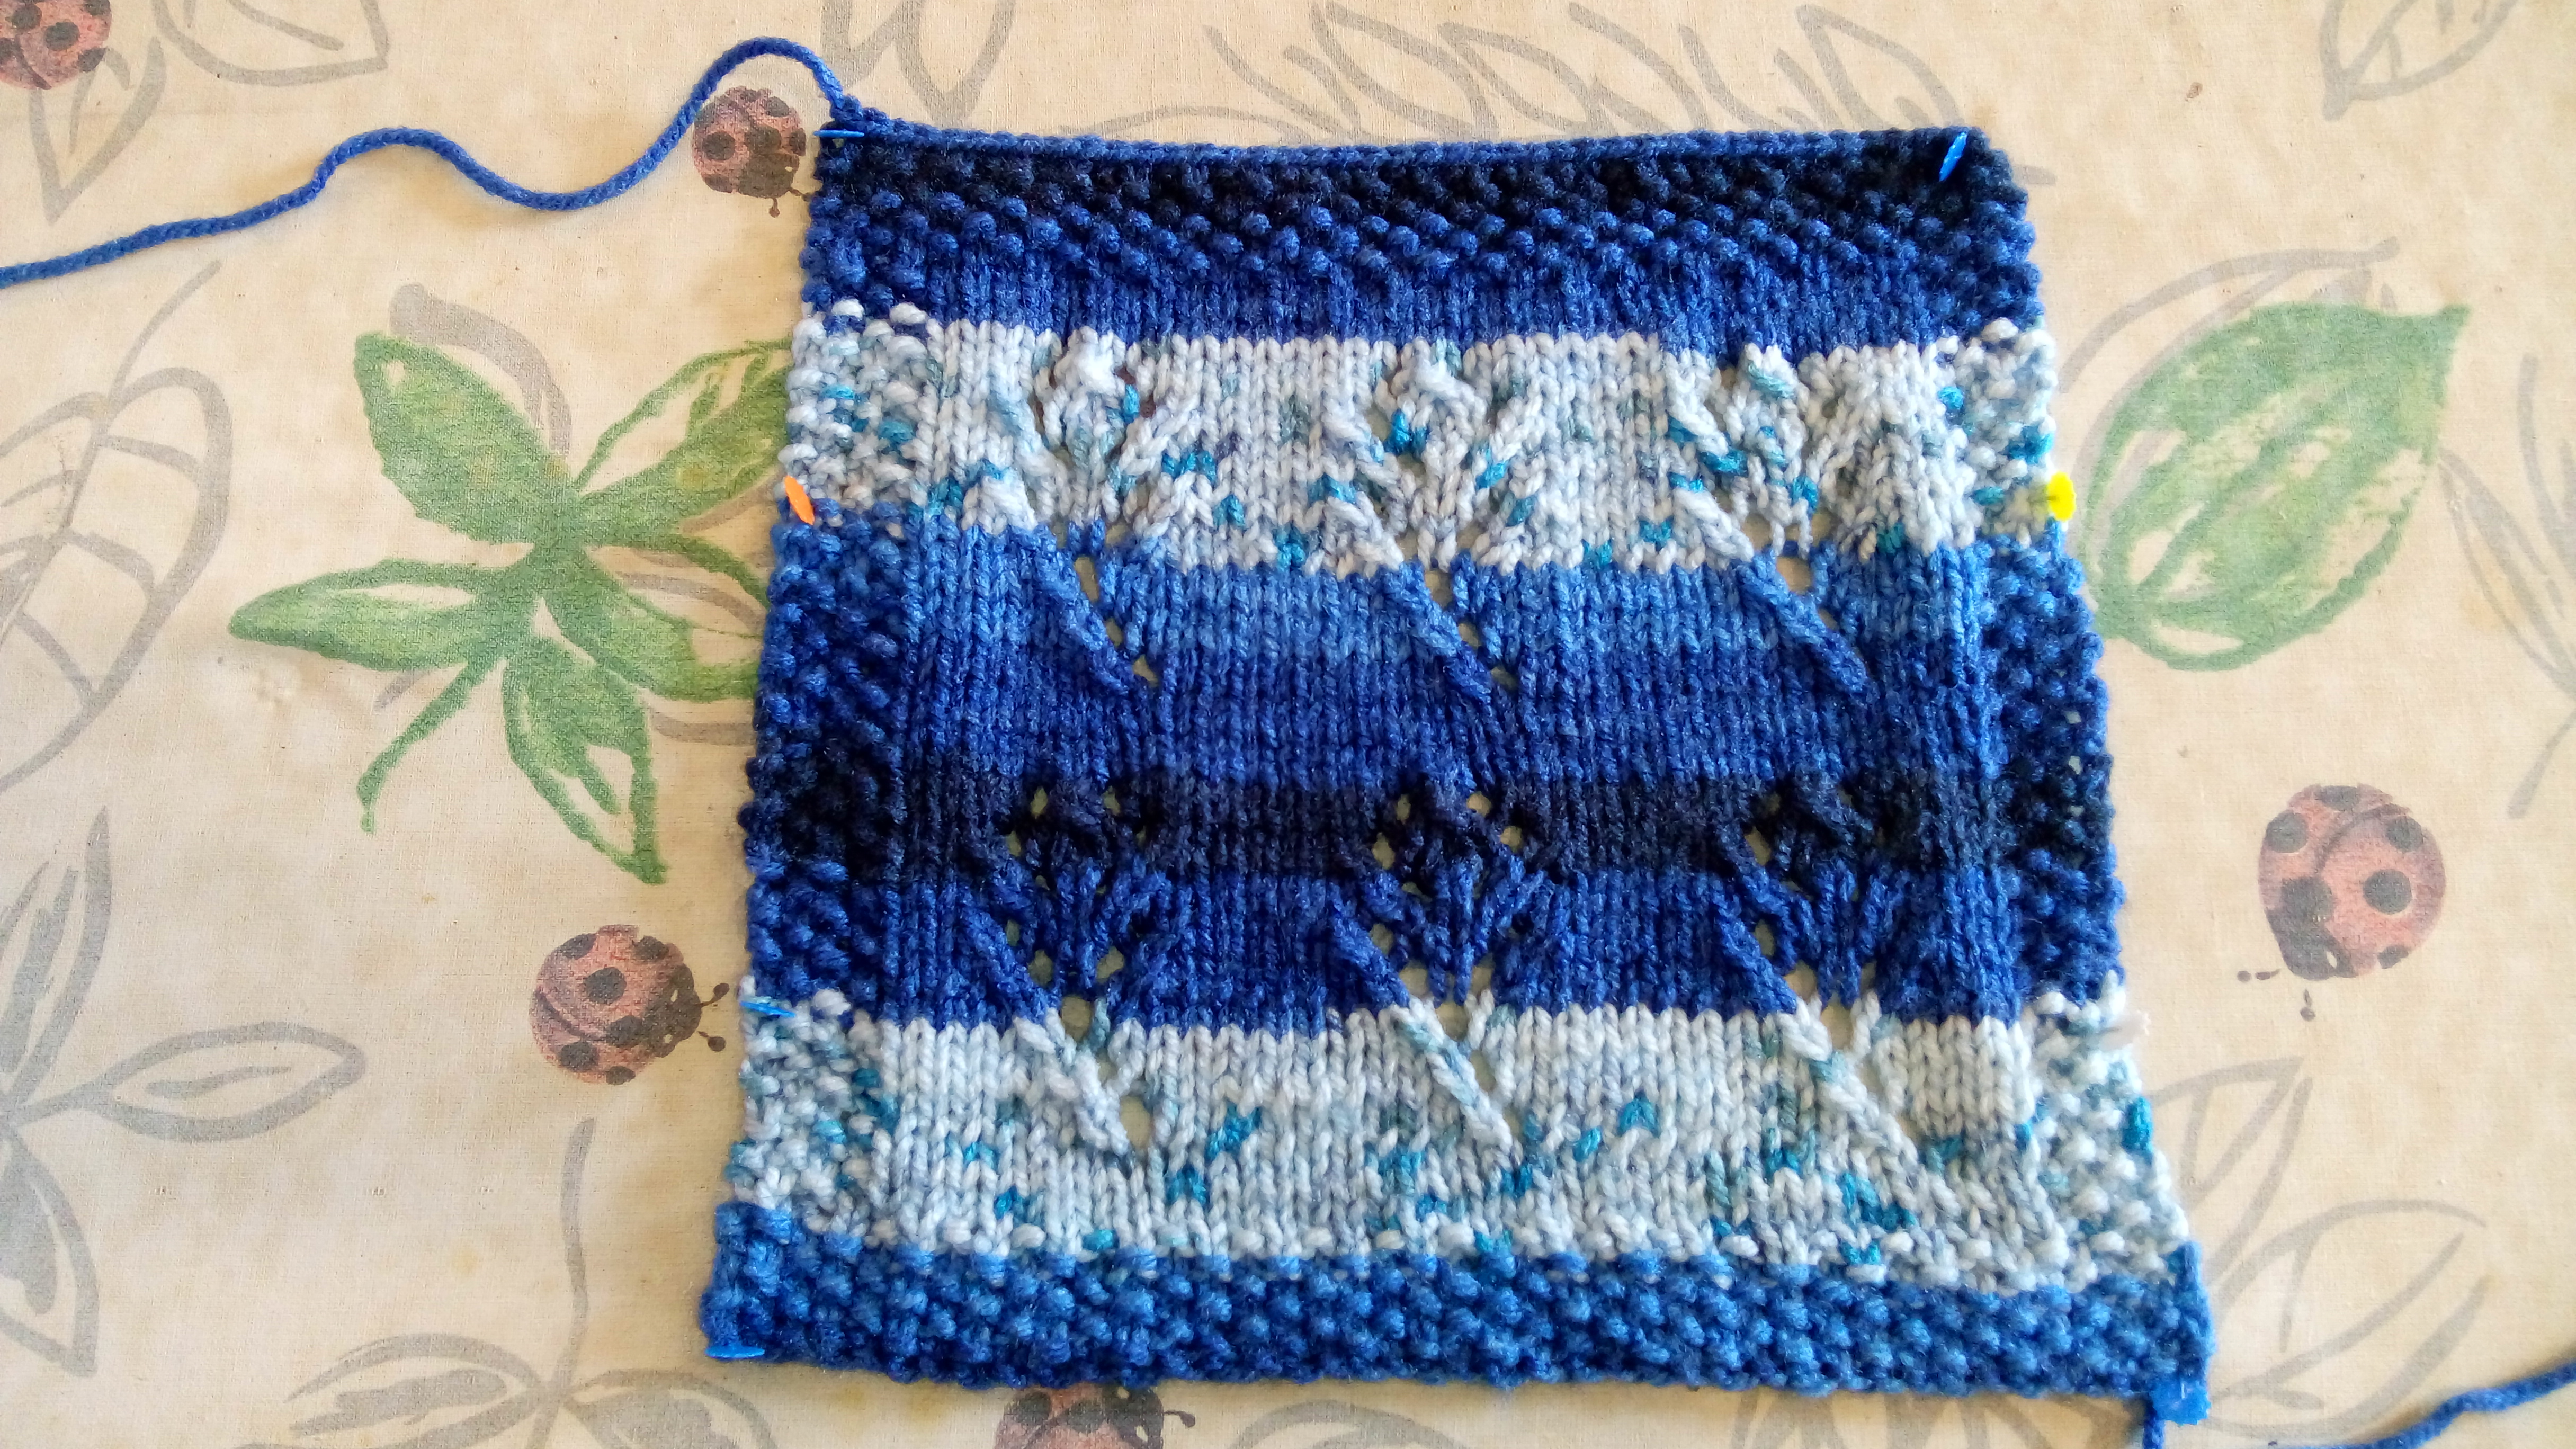
DS and I have been planning to do this for a while, but I was putting it off til the summer holidays for obvious reasons. Last night was the ideal opportunity to get it underway. You can leave the yarn to soak from half an hour to overnight – I prefer overnight as I don’t get asked every 90 seconds if it’s been half an hour yet. I’m sure there are other ways of doing this with food colouring but this method looked pretty straightforward to follow. Here we are going through the first stages and maybe I should just confirm that nothing was slaughtered to get to the final image:
When I recorded the pod, we were waiting for the yarn to cool after its second zapping so that we could rinse it til the water ran clear then leave it to dry. I don’t want to drop any spoilers – after all, it’s a whole fortnight to wait to hear how it went – but when using a tutorial from eight years ago bear in mind that microwaves might be just a teensy weensy bit more powerful these days so maybe adjust the zapping time. Suffice to say, white vinegar is on next week’s shopping list, and I’m getting baleful looks from my son. Ouch.


Music credit:
“Carpe Diem” Kevin MacLeod (incompetech.com)
Licensed under Creative Commons: By Attribution 3.0 License
http://creativecommons.org/licenses/by/3.0/
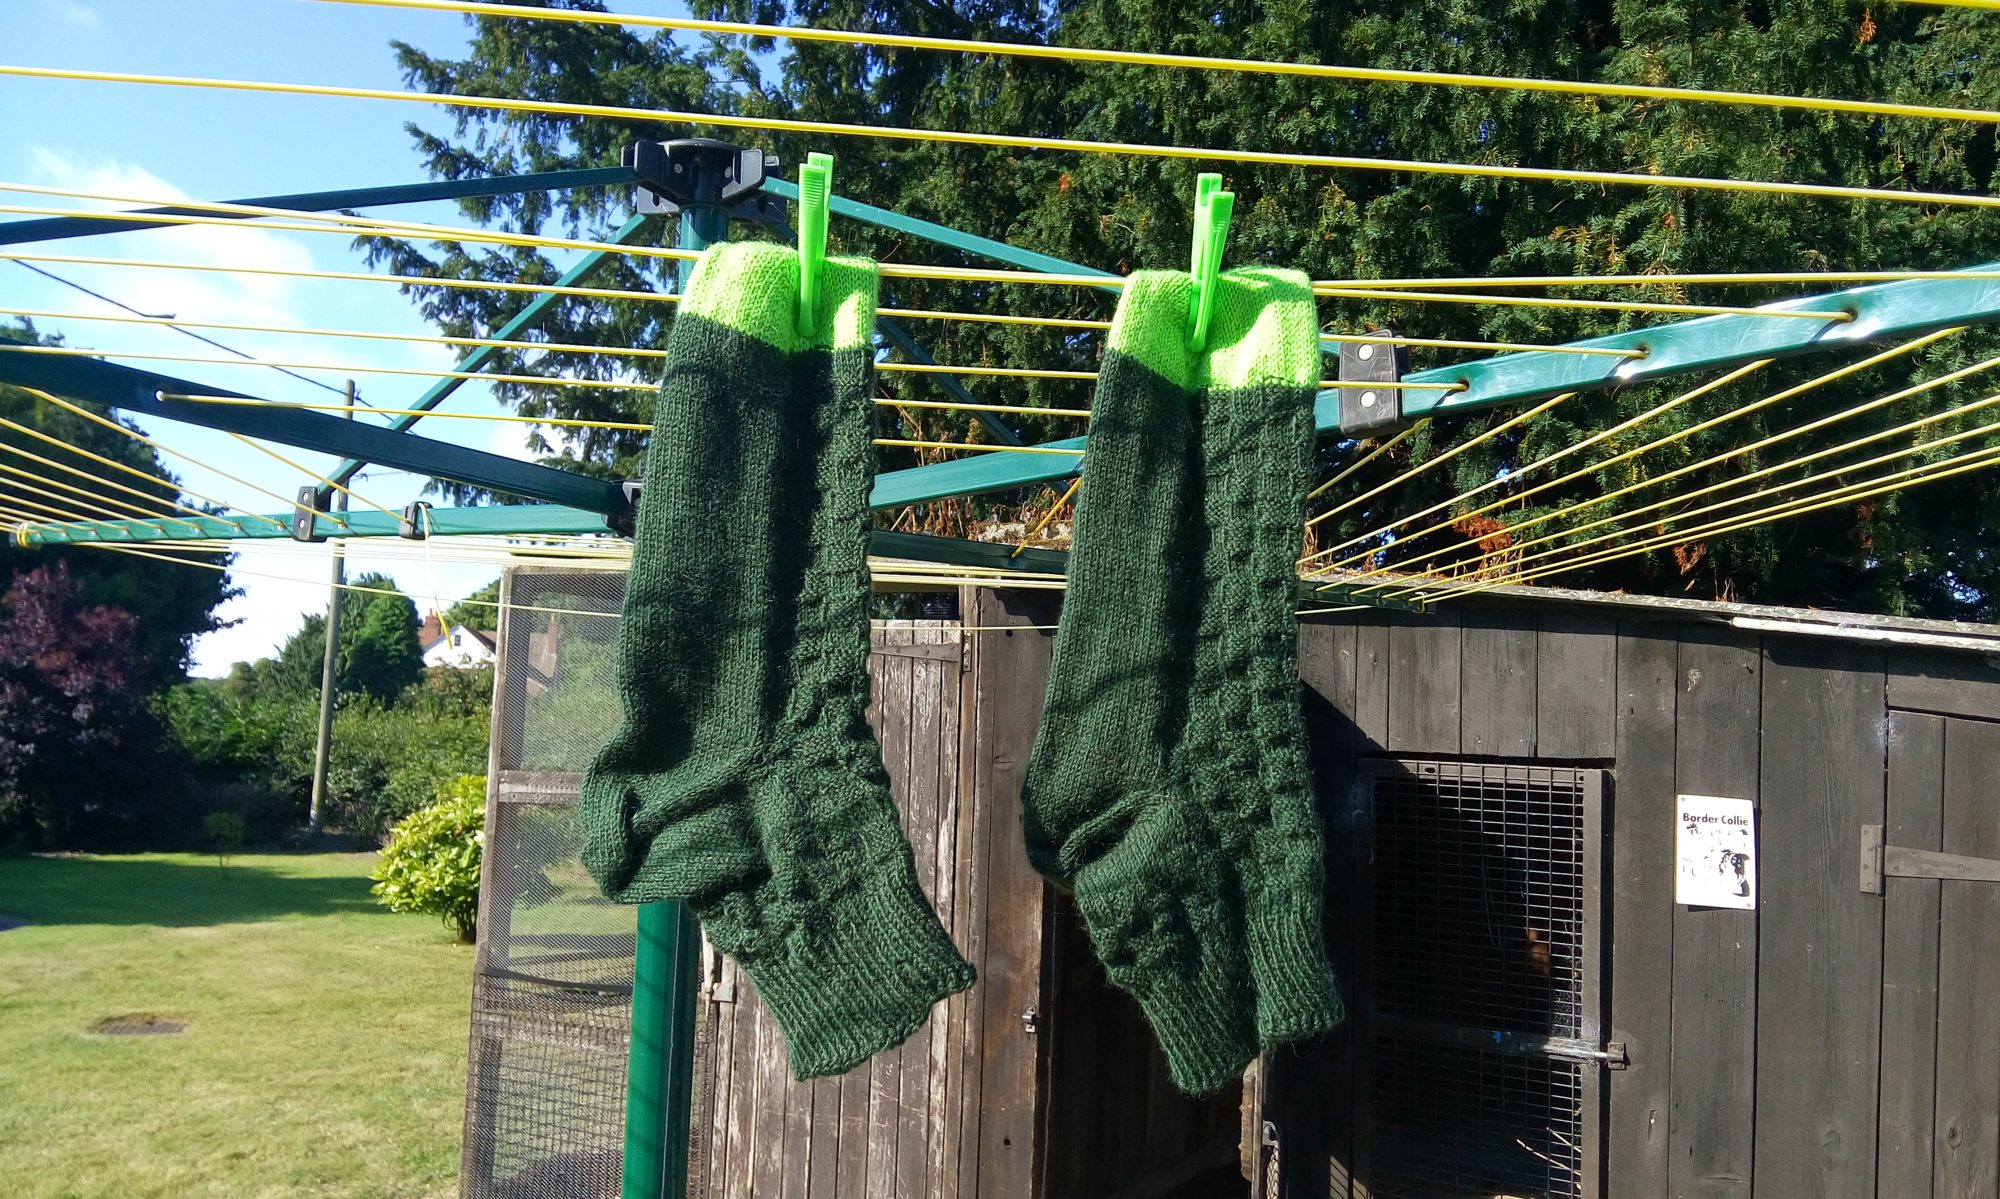
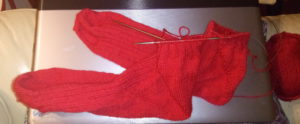
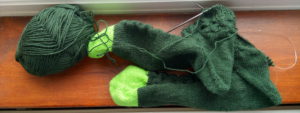 Here are The Socks, with their lime green toes, box construction and forethought heel. I’m now on the cuff so very much on the home straight and back in my comfort zone. For quite a while now I’ve knitted socks TAAT – two at a time. No second sock syndrome, no judging whether socks are exactly the same length and when you’re finished, you’re finished. I cast on with Judy’s Magic Cast On, which lends itself perfectly to two at a time on magic loop, and they look like a little bikini til the tow is well established. In a recent podcast,
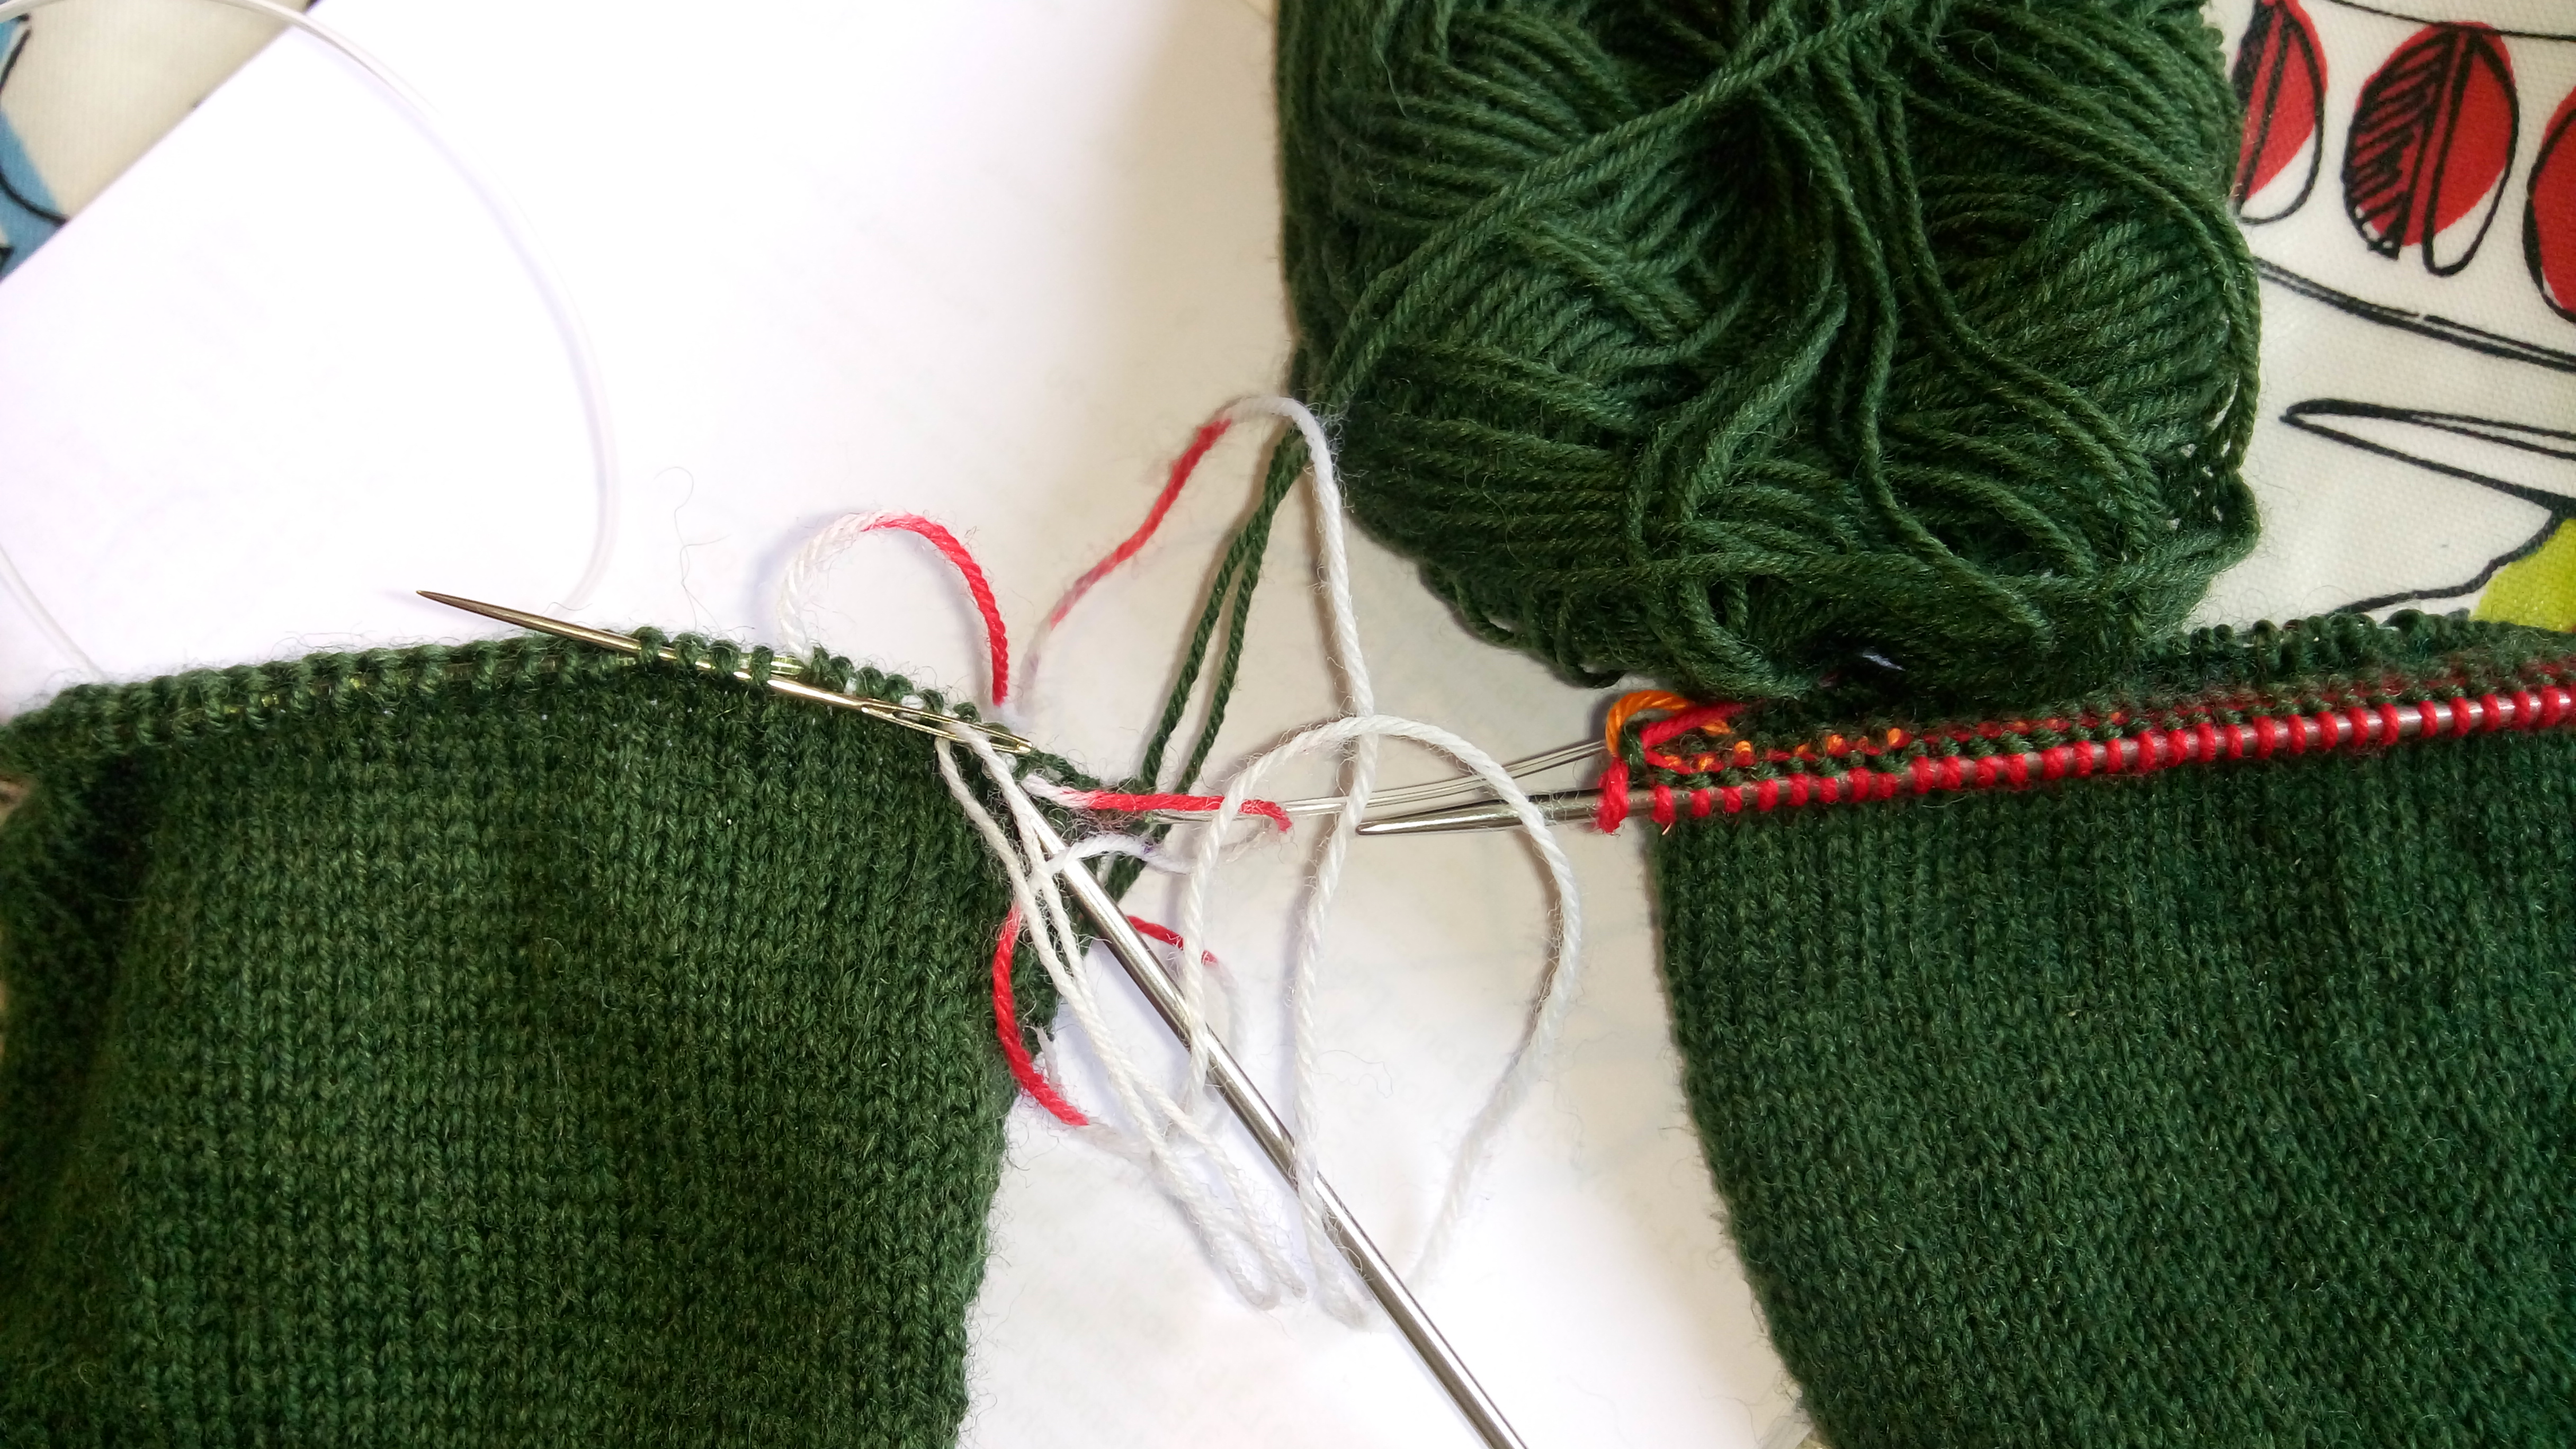
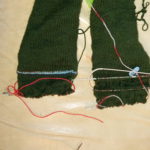
 It turns out that what I thought was an afterthought heel is in fact a forethought heel. I recommend Louise Tilbrook’s blog post and tutorial (that last link above) for explaining the difference between afterthought and forethought heels. Essentially a forethought heel (but what usually leaps to mind when you think of an afterthought heel) is one that you mark with scrap yarn as you go along, marking the place of the heel while still mid-sock, so you re in fact planning it with forethought. A true afterthought heel is one that you pick up for when you’ve completed the sock, having made or left no mark at all to indicate its place as you’ve knitted your tube sock.
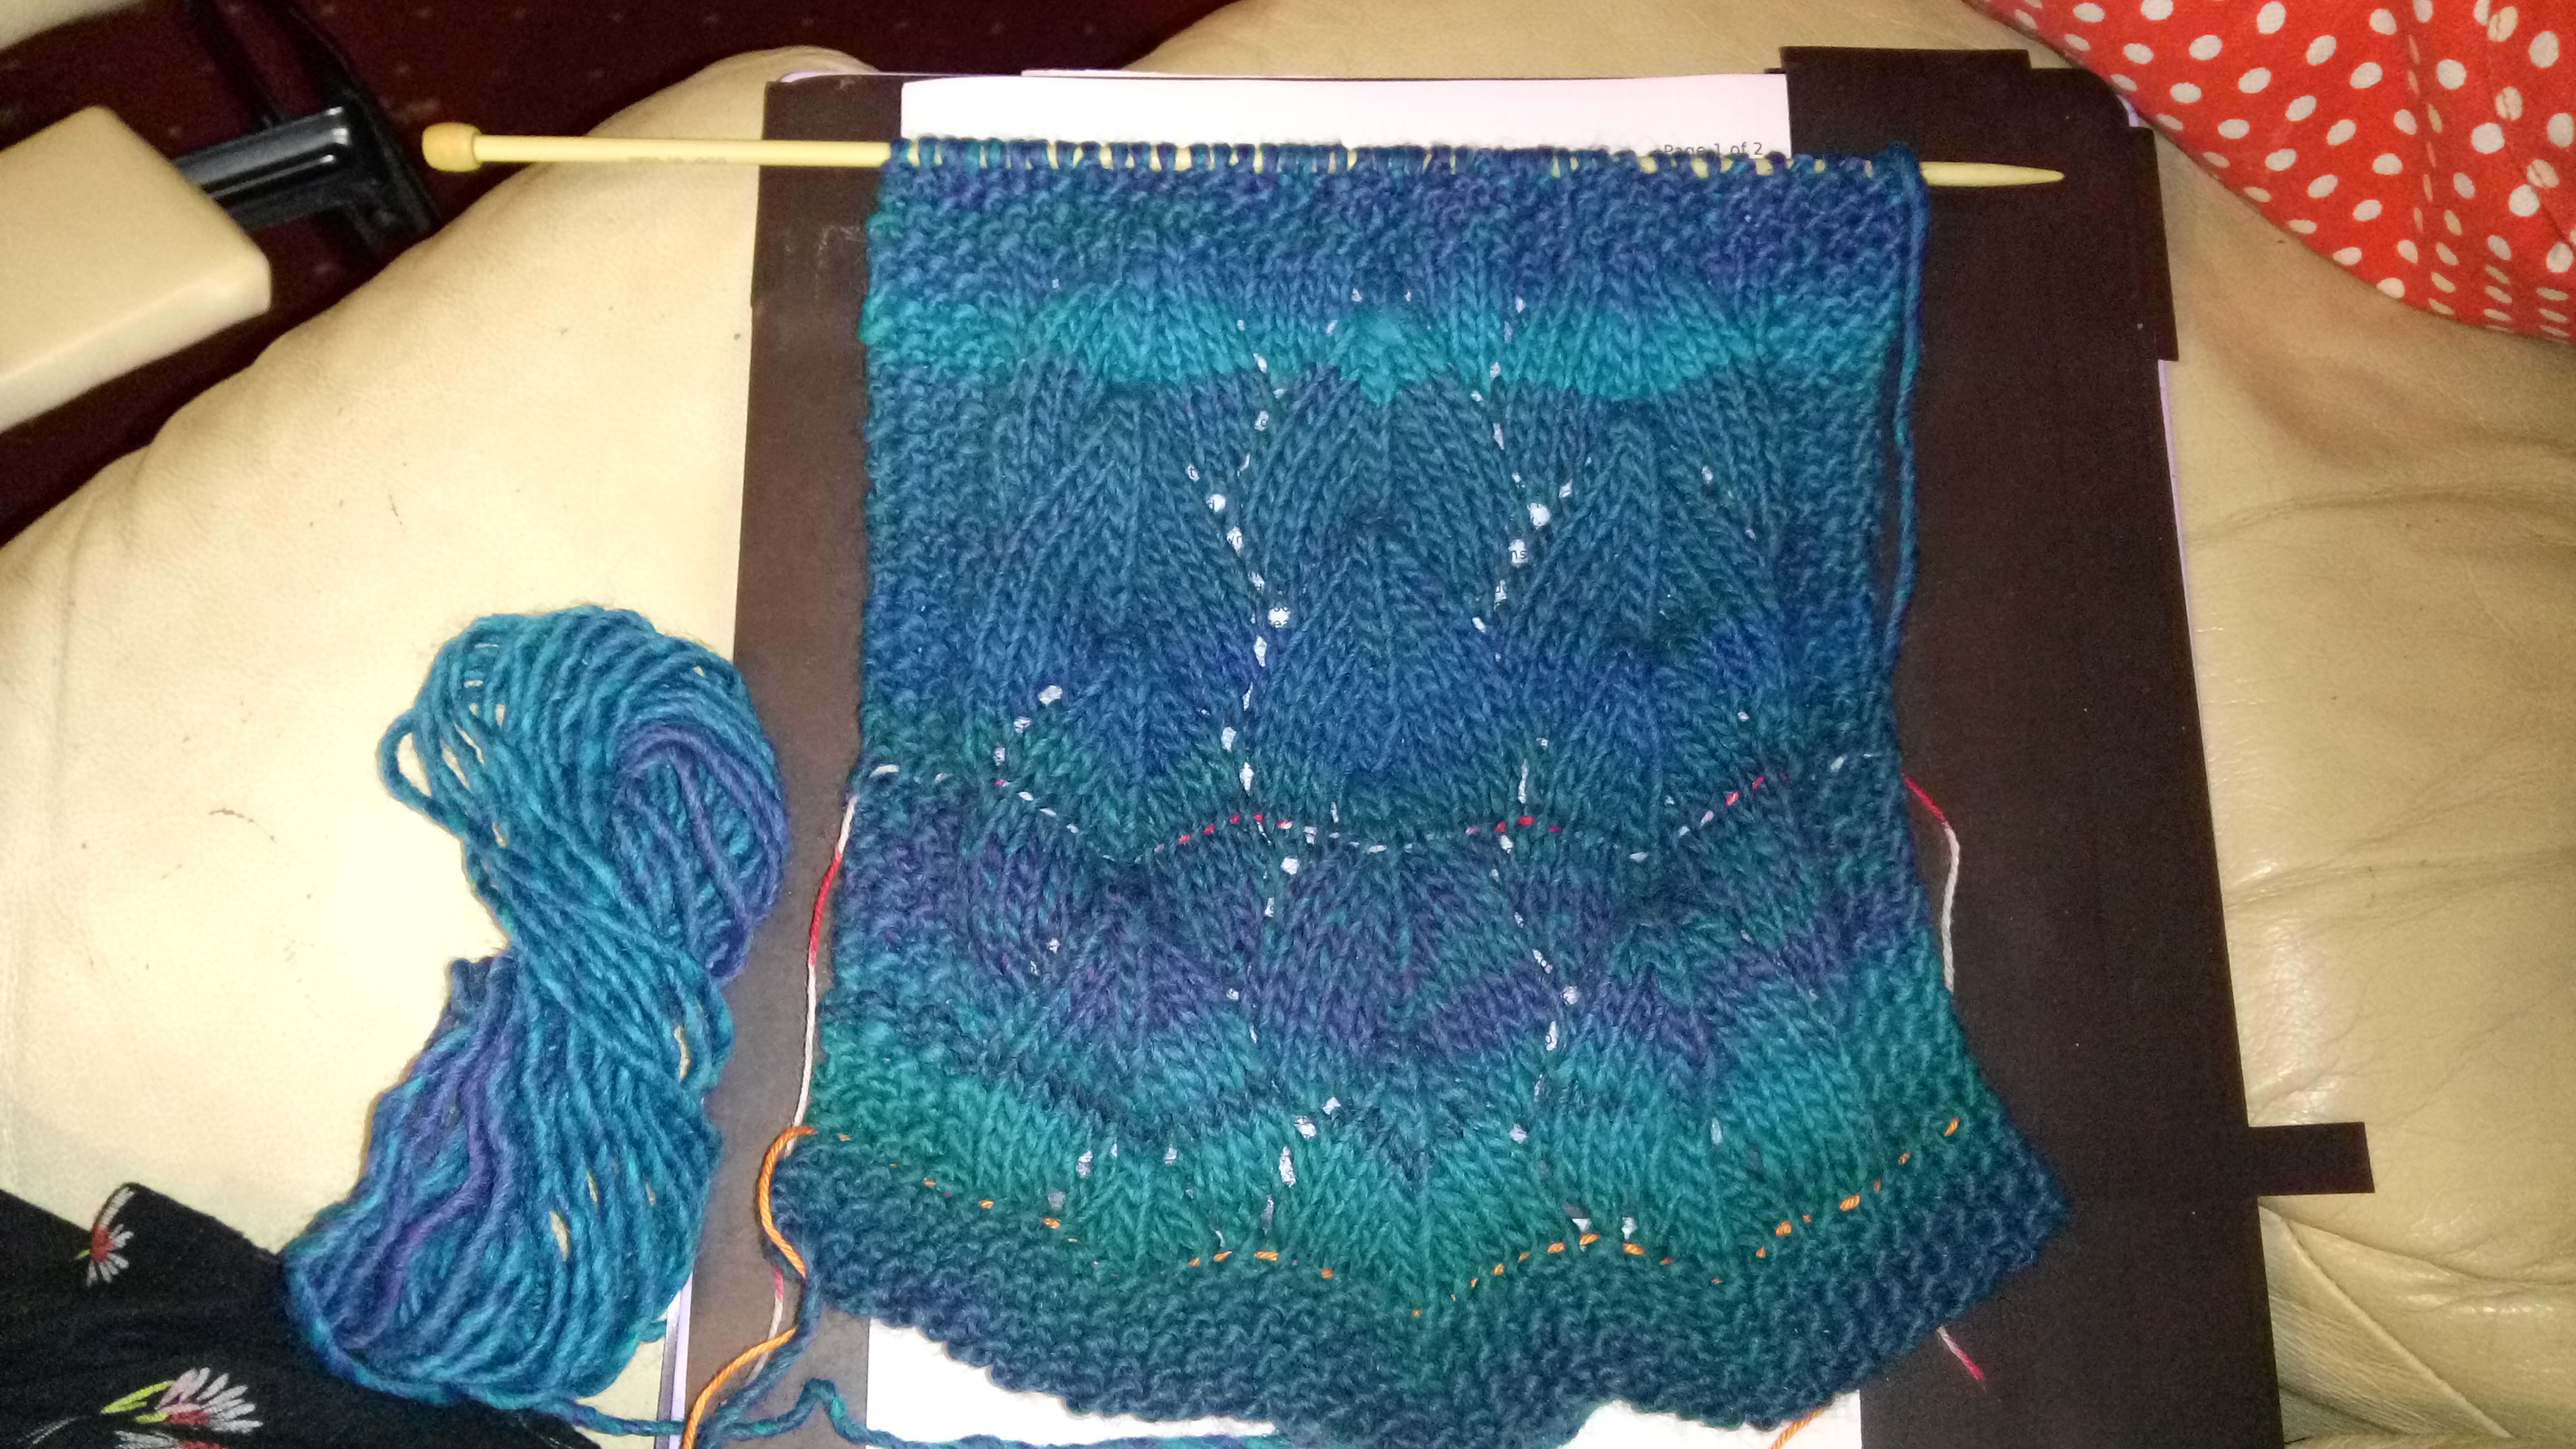
 This was a completely new one on me. I used a standard bind off for years, which made for some pretty squeaky socks in the early days of ‘proper’ knitting. Then I discovered Jeni’s Surprisingly Stretchy Bind Off which changed everything. But that was it, the sum total of my bind off knowledge. This week I’ve doubled my repertoire with not only Russian or lace bind off, but three needle bind off too. Strictly speaking it’s more of a grafting stitch than a bind off, and I was using it to graft the two halves of my shrug. Often when I learn a new stitch it’s completely incomprehensible at first, I’m watching YouTube videos frame by frame and I can’t understand how anyone ever gets the hang of it then bingo, the penny drops and I’m away. This time I didn’t have to go through the ‘duh?’ stage and just zoomed away with it from the off. The result is a very satisyingly neat seam, but none the less a seam. I’d hoped the TNBO would be invisible, like mattress stitch, but it is what it is and that won’t stop me wearing the finished article.
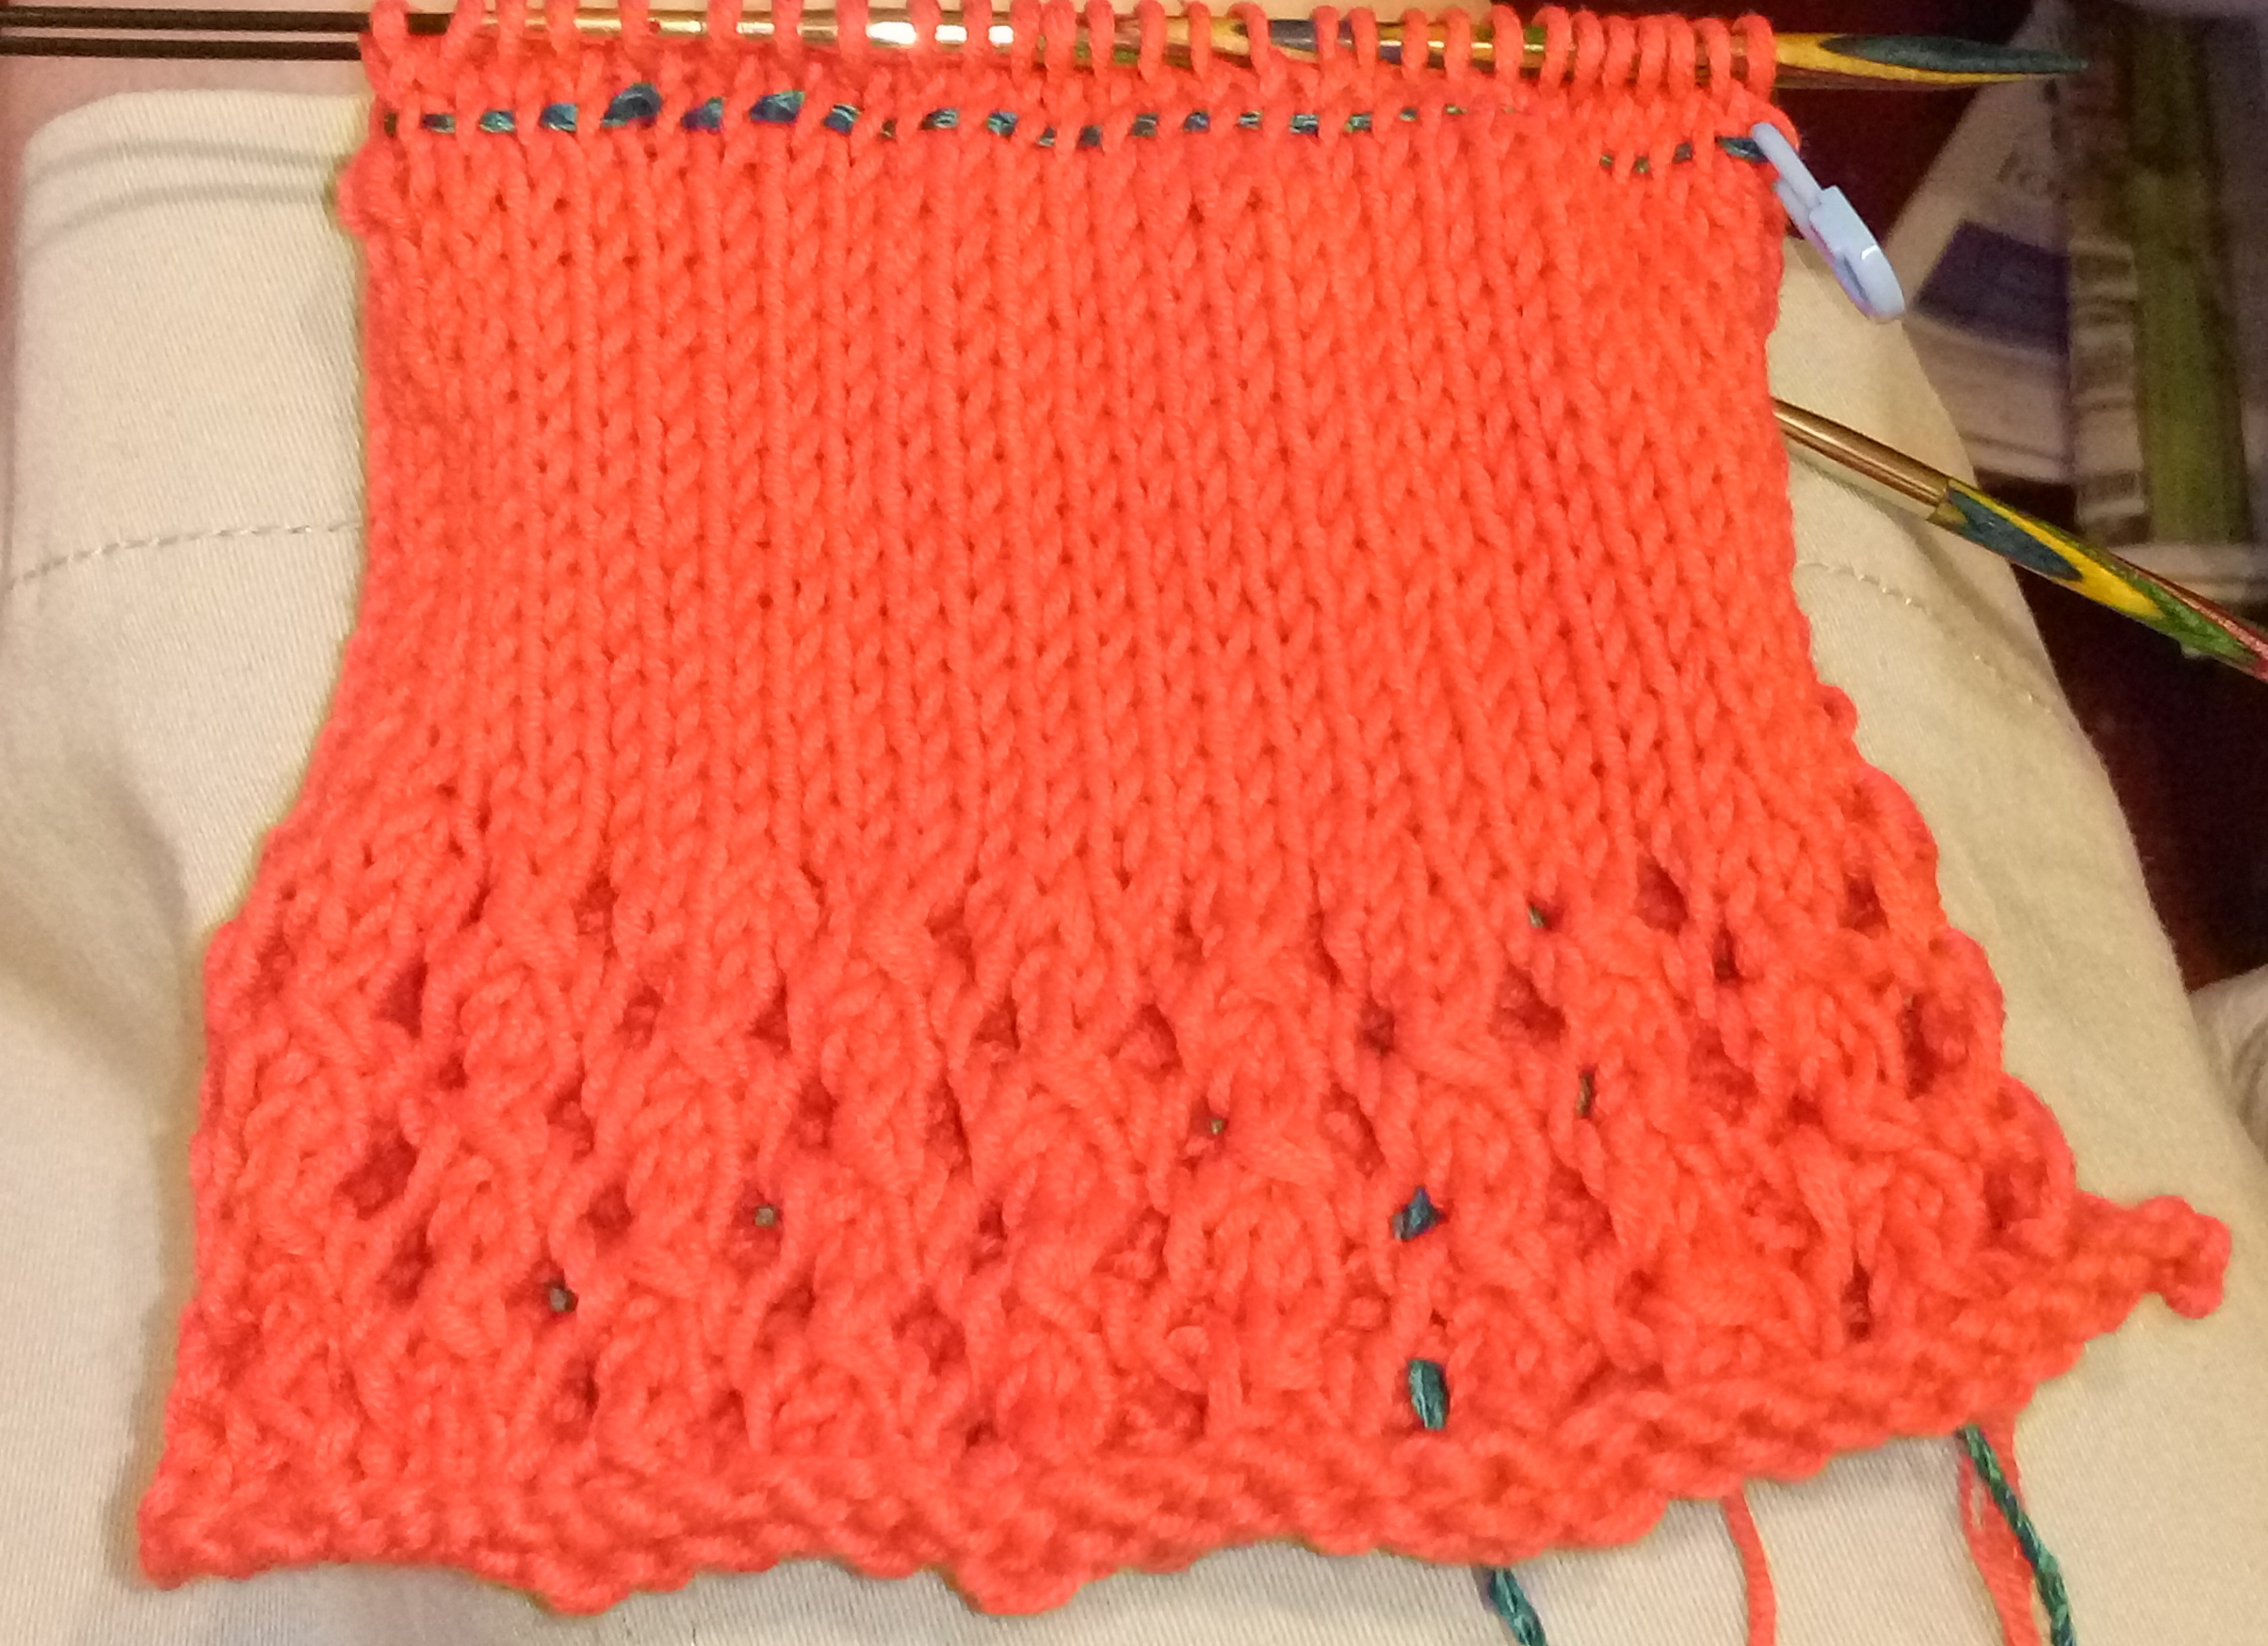
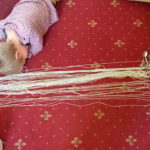
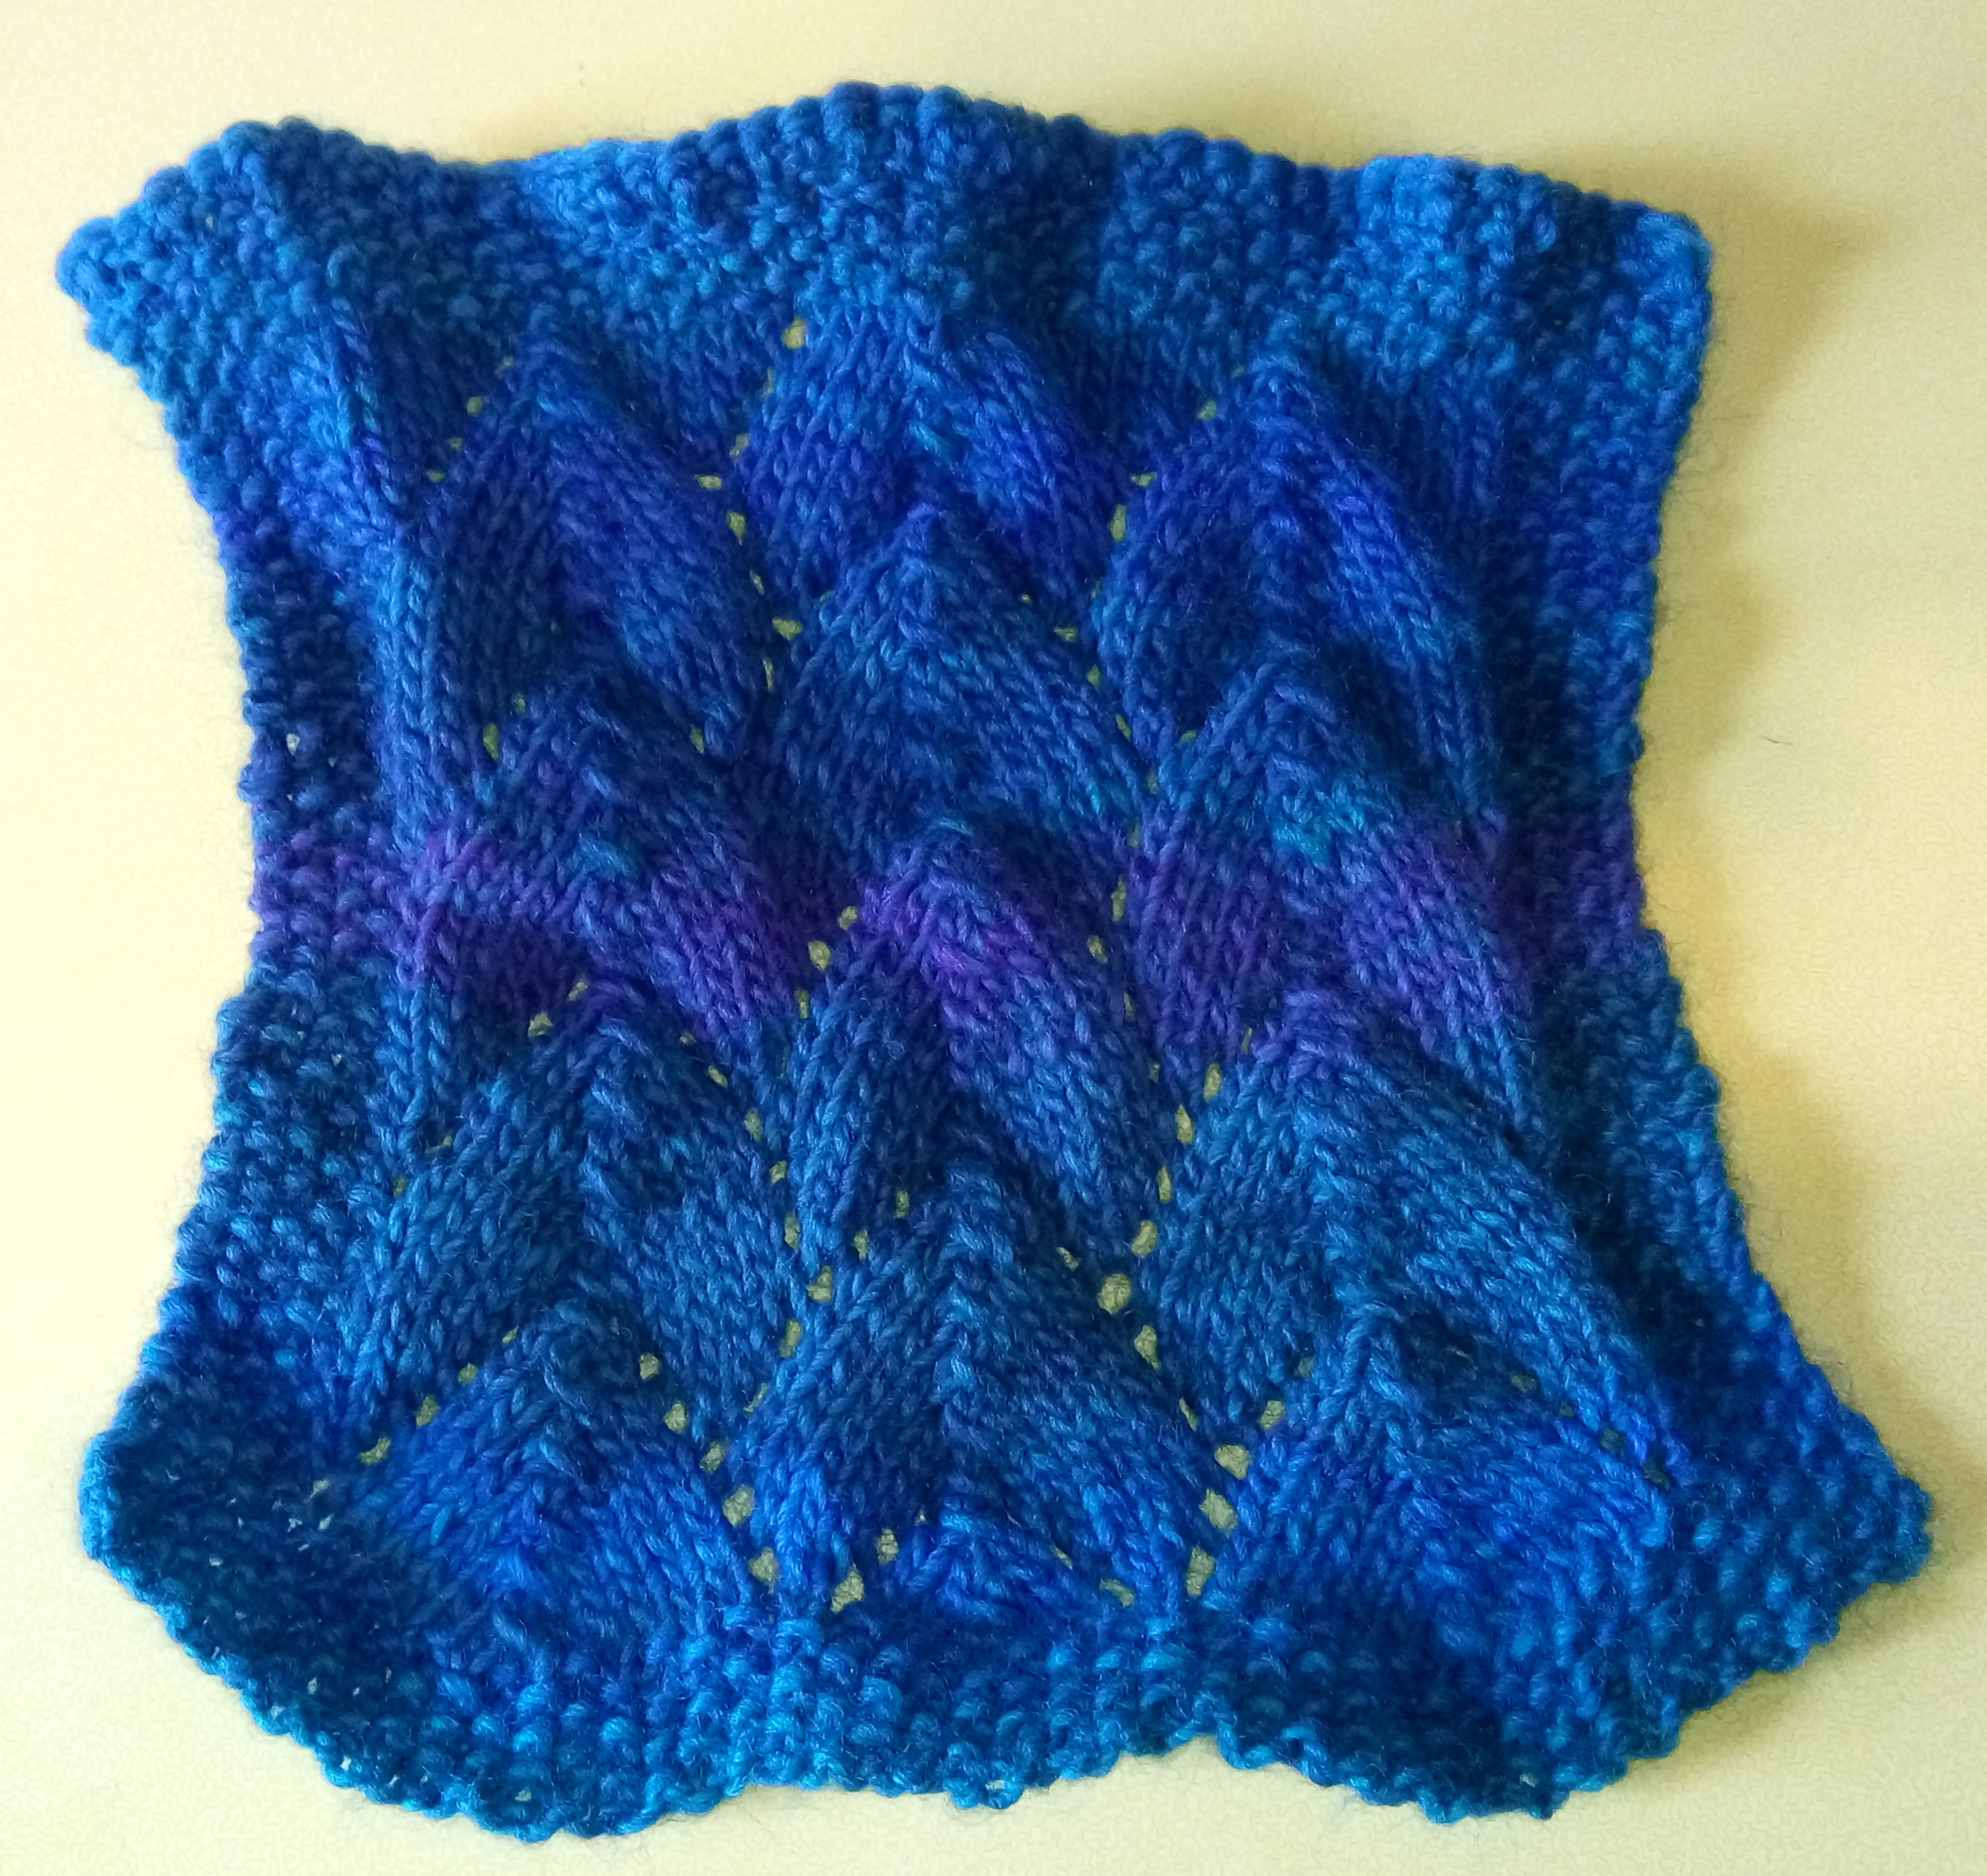
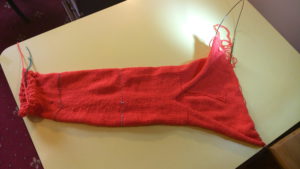 That there is half a shrug, the Purl Soho Evening Shrug (the pattern is now mysteriously offline). I’ve shown the wrong side as you get a clearer idea of the construction. The point of the V is where the sleeve sits in the armpit and the flat piece forms half the back. I haven’t tried it on yet but rest assured I will, to make sure it does actually reach the middle of my back.
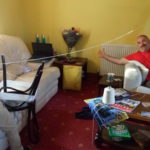
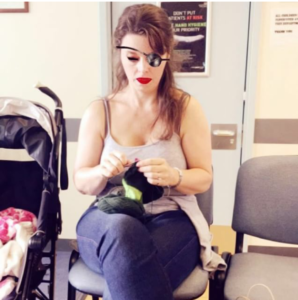
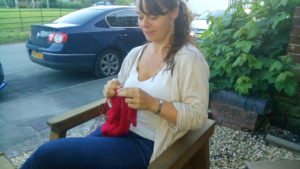 Here I am sitting at the pub knitting. We took a video too but it wasn’t very exciting. Mine’s a Guinness.
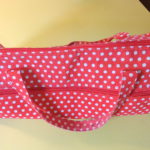
 As we’re being rude about the pattern I won’t link to it.
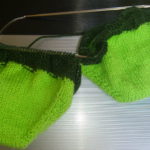
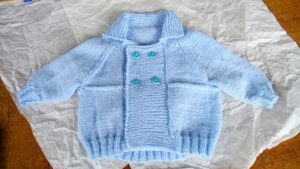
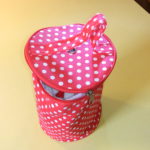
 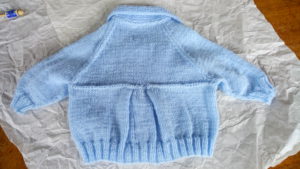 Left is the front of the little jacket, featuring the double-breasted design that drew Alison to the pattern. It’s hard to imagine the jacket with big buttons. If you expand the image you’ll see Alison chose very cute blue buttons with a smiley face on them. To the right is the back and The Vent. What you can’t see is a double line of rib going up underneath each flap of the vent – that’s what I exclaim over in the interview. I think the moral of this story is go for a vent only if you’re very sure what you’re doing.
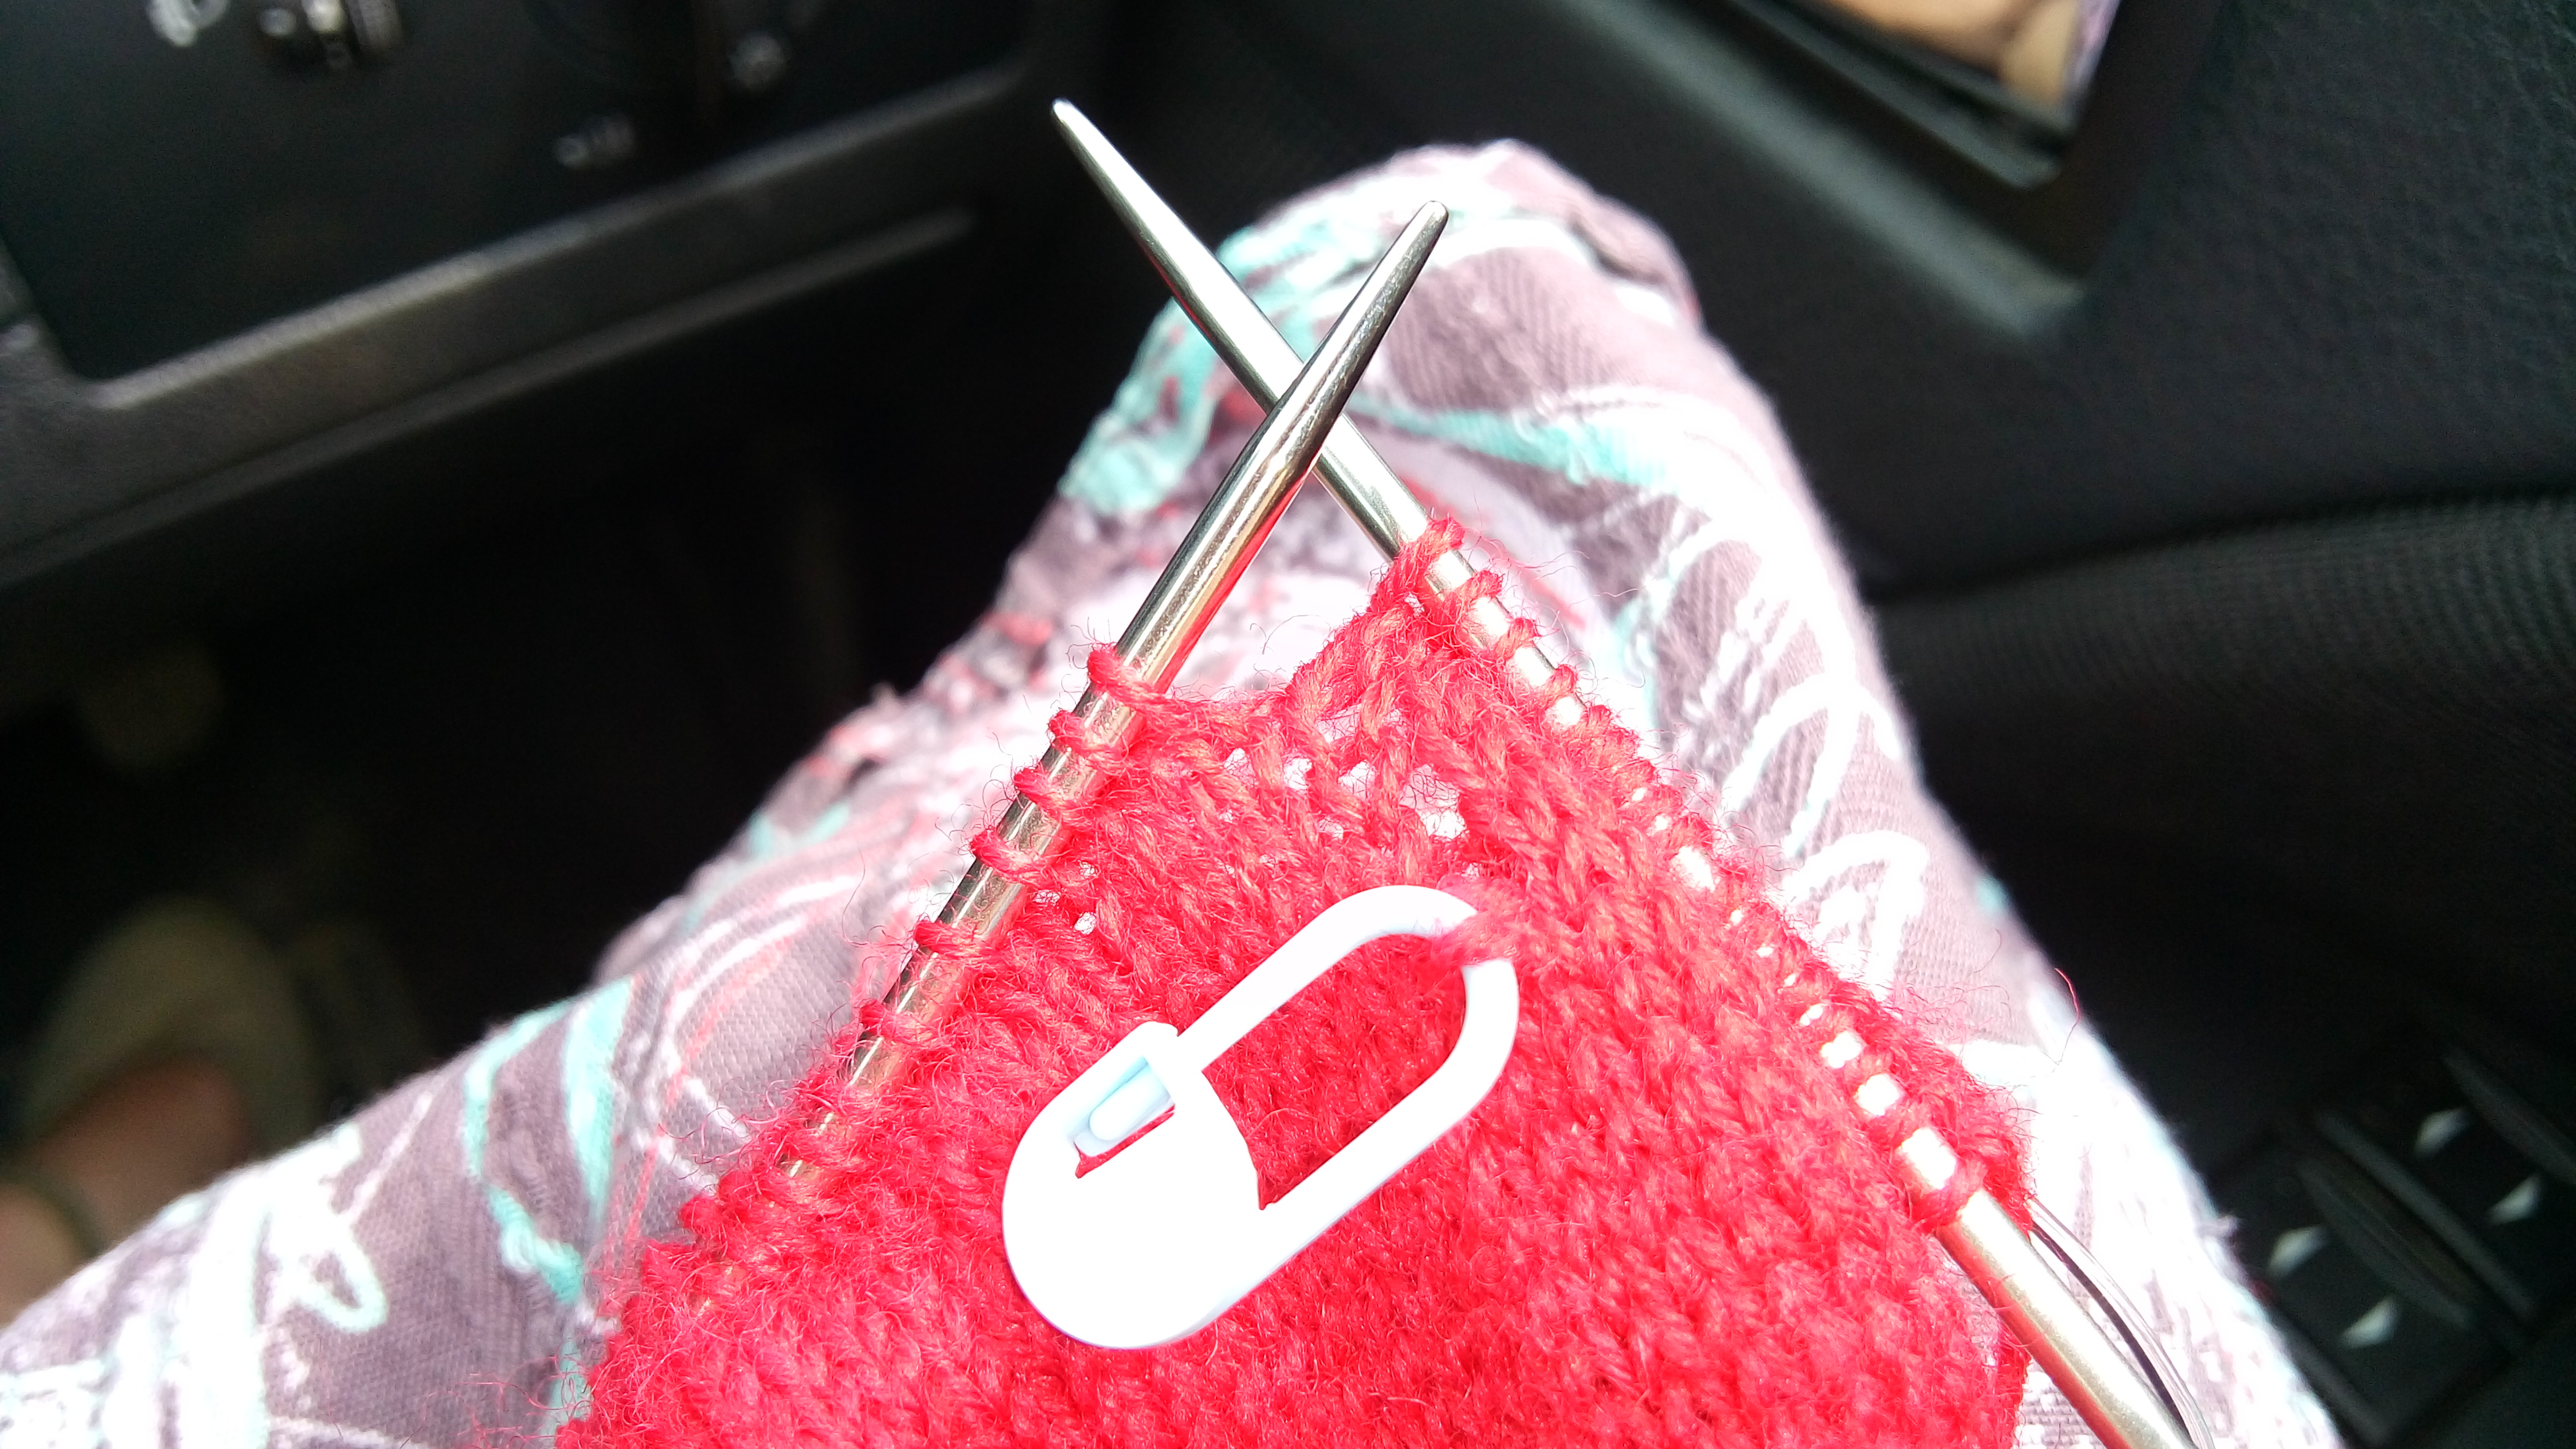


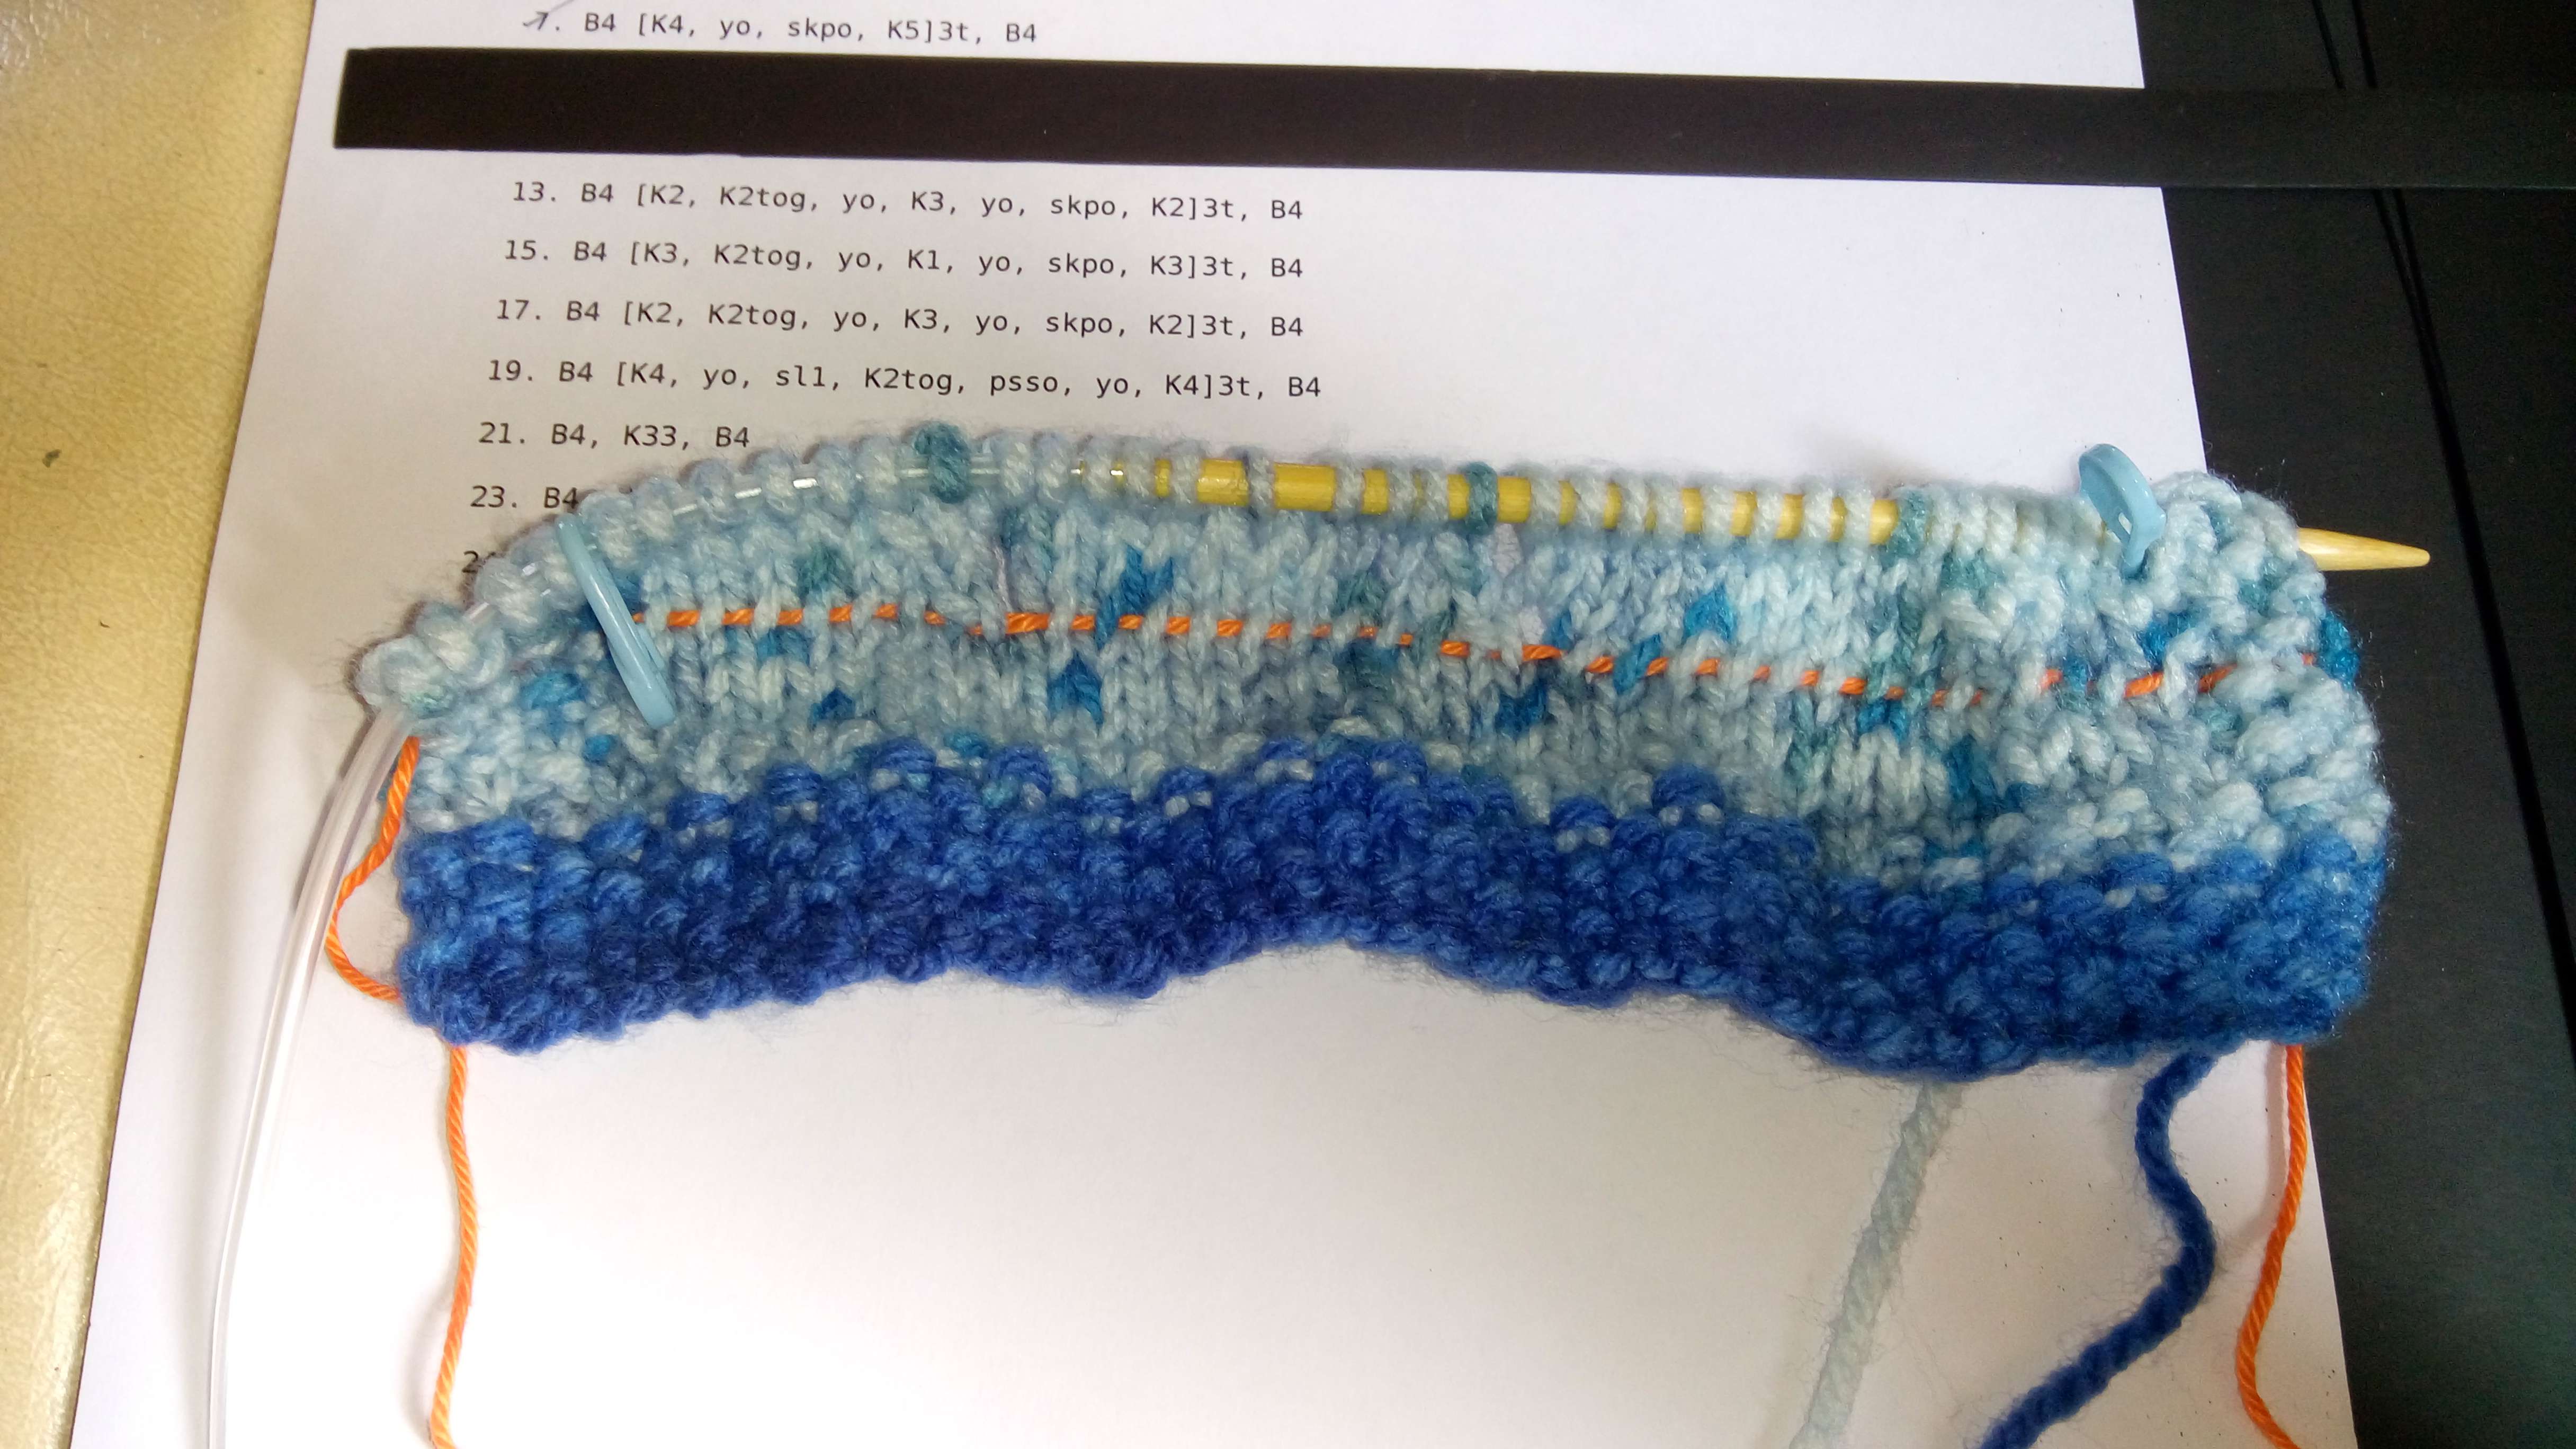
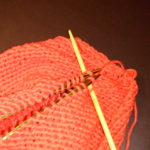
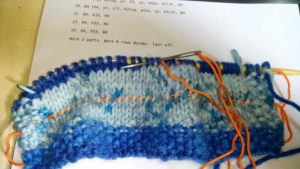 Proactive lifeline